Master Motion Blur in Studio Photography
Hello everyone! Today, I’m diving into one of my favorite photography techniques: motion blur in studio photography. It’s a style I’ve been enjoying a lot recently, and I’m excited to share some insights with you.
Recently, I had a great studio shoot with Thibaud and one of the models I’ve worked with before, and I also recorded it for YouTube if you want to see the backstage, otherwise let’s see how to take motion blur in studio!
Renting a Studio in Seoul
The first step for studio photography is pretty straightforward: rent a studio. I’m lucky to be based in Seoul, where studios are incredibly affordable. For around 15 US dollars an hour, you can find studios with wide backgrounds and included flash equipment. This price point makes it easy to experiment, practice, and build your portfolio, which is exactly what I’ve been doing.
For the motion blur technique, like the one I’ll explain in detail, you’ll need at least two sources of light so make sure to get these ones described below.
You can easily rent a studio with a Korean phone number following this link:
HOURPLACE.CO.KR
Lighting Setup: Continuous Light and Flash
To achieve this effect, the bare minimum lighting setup involves one continuous light and one flash. While you can use only continuous light, I find that adding a flash gives a more professional look by freezing movements. That said, using too many strobes or mixing several continuous lights can make things complicated, so start simple: one continuous light and one flash.
2 flash light, one as key light and one as rim light (not obligated for the last one)
1 continuous light for the white wall to have colours on the background.
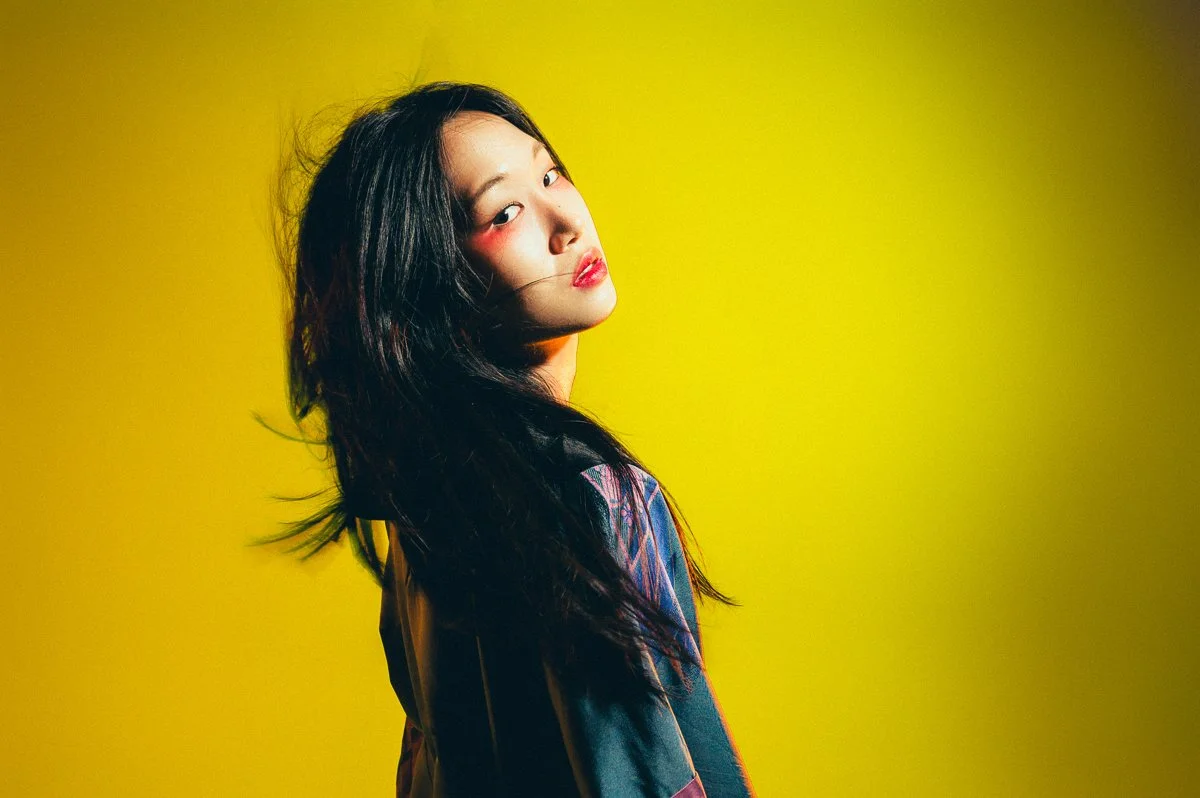
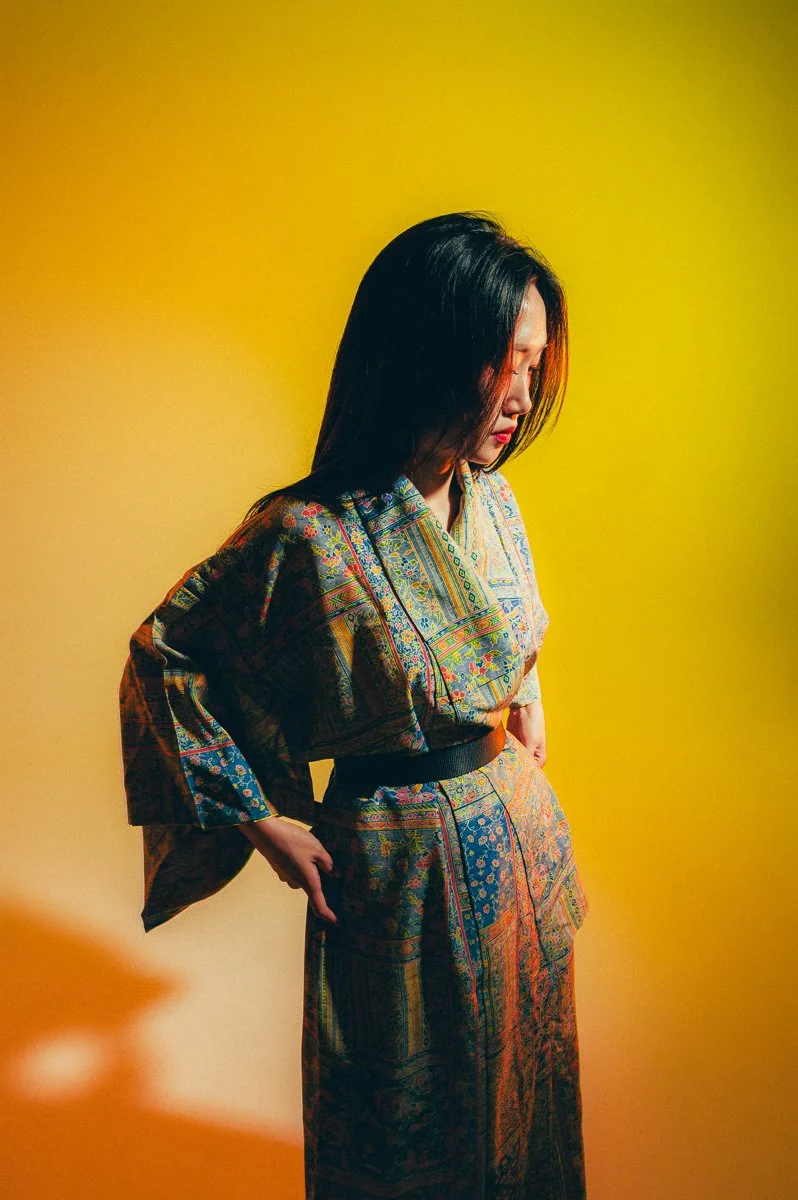
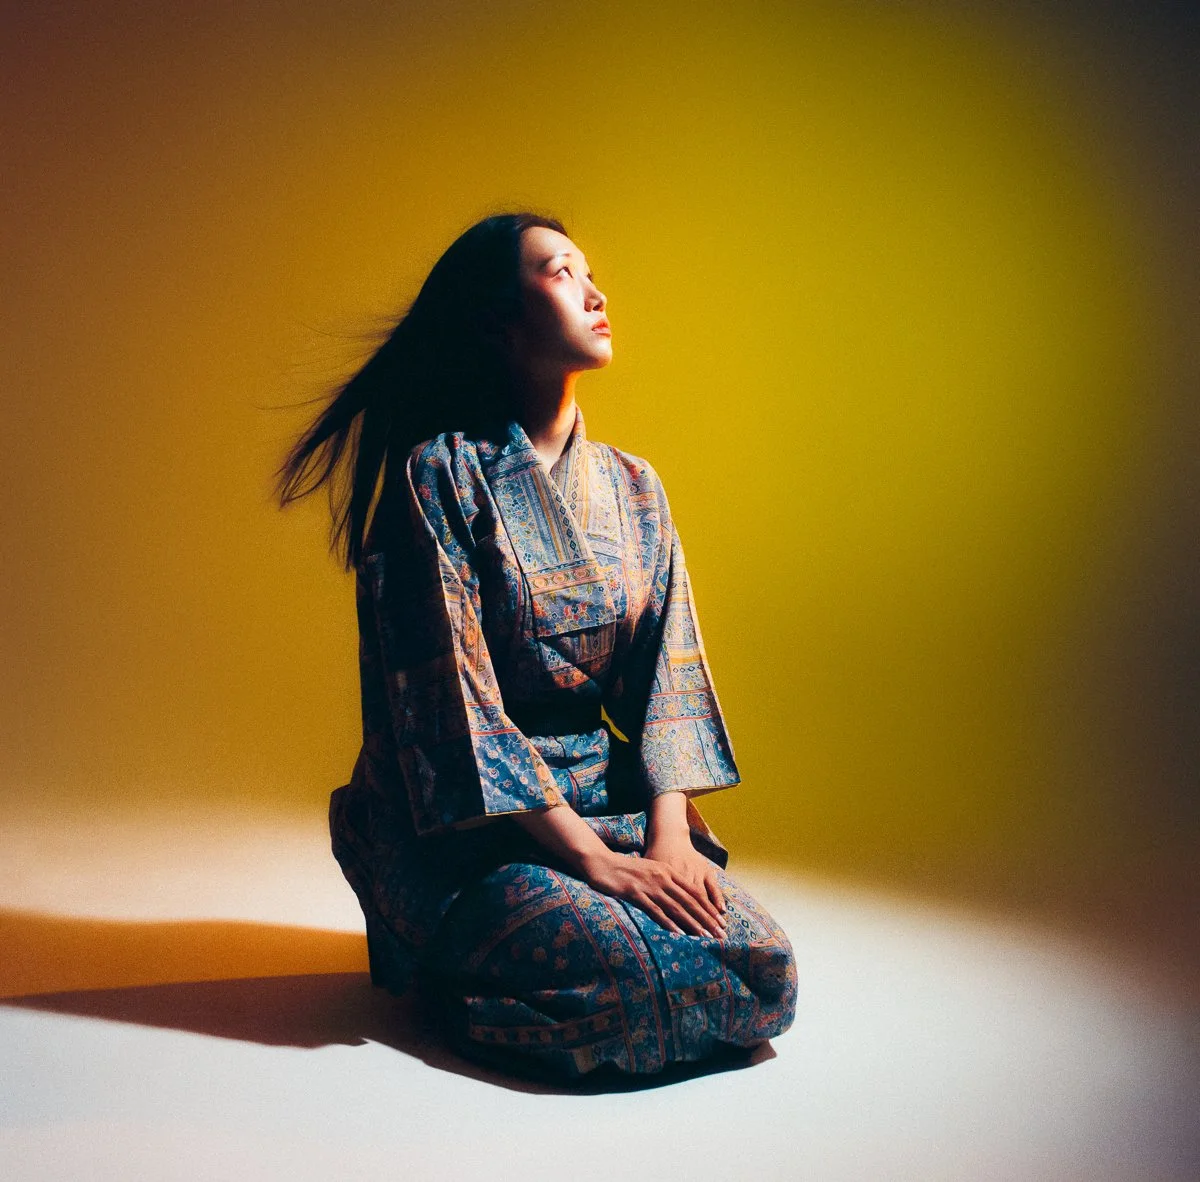
This was the setup I used during my recent shoot with the model @Yesoolcat. She’s the one featured in the images you’ll see, so make sure to check out her account for more of her work.
Why You Need Both Continuous Light and Flash
Now, you might wonder why I recommend this specific setup. The reason is that the light reaches your camera’s sensor in two different ways. The flash is meant to freeze the motion, creating sharp, clear images of your subject. On the other hand, the continuous light adds that dreamy, ghostly effect.
In short:
• Flash = freezes the subject.
• Continuous light = creates the motion blur effect.
To get the best results, I recommend killing as much continuous light as possible from your scene. You can do this by using a small aperture and a low ISO, which is typical in studio photography for maximum image quality. Another option is to simply turn off all unnecessary lights in the studio.
Camera Settings for Focus and Light Control
A little tip: it can be tricky to focus when the scene is dark. You’ll need to tweak your camera settings, particularly for manual focus. Also, make sure to turn off the modeling light from the flash. This light could interfere with your desired motion blur effect, adding unwanted continuous light where the subject should be frozen.
You could use these settings:
- Aperture: F8
- ISO: 100 or below
- Shutter Speed: 1/20
Of course you can change these settings to match your environment. You gonna have to adjust the power of the artificial light.
This way, you’ll have full control over the lighting in your scene. Yes, it makes the studio a bit dark, but that can actually help set the mood for both you and your model, allowing for a more immersive photoshoot.
Setting Up the Lights: One by One
Once you’ve managed the focus and lighting control, it’s time to set up your lights. I recommend starting with each light one at a time. During my last shoot, I experimented with different lighting setups, but for beginners, sticking with one flash and one continuous light will help you get a better understanding of how each light affects your scene.
For continuous light, I used the Neewer TL60. It’s a 60-watt light, and I had it running at full power. After that, it’s all about setting your camera settings, and you’re ready to start shooting.
You can start by set up the key light which will be the one freezing the movement. Once you like what you get you can turn on the continuous light to see the whole atmosphere showing up. By turning on lights one by one you will be able to set up your lights with ease.
Camera Movement and Motion Blur
To get that beautiful motion blur effect, the key is introducing movement. I usually set my shutter speed to around 1/10th to 1/30th of a second. Then, I move the camera during the shot to capture the motion I want. You can play around with the direction of the camera movement to see how it affects the final image.
For example, you could move the camera from behind the model, or from the side to highlight certain features like the face or silhouette. Once you’ve got that motion blur effect, it’s time to bring in the flash to freeze the subject.
Flash Setup for Motion Blur
When setting up the flash, I recommend using a grid to prevent the light from spilling all over the studio. This keeps the focus on your subject and prevents the background from becoming too bright. You can also use V-flats (also known as negative boards) to control the flash’s reflection and prevent unwanted light bouncing back onto your subject.
I’ll make a more detailed video on this, but for now, just remember: practice makes perfect. Take your time adjusting the light positions, experimenting with different colours and angles. The more you practice, the better you’ll understand how light interacts with your subject.
Fine-Tuning the Process
One thing I’ve noticed is that I usually need about 30 minutes of warm-up before I get the lighting exactly how I want it. This is especially true when using flash, as you can’t see its effect until after you take the shot. If you’re shooting film, you might need to push your exposure by one or two stops to get the right amount of light.
This is a normal process during creative photoshoot. It’s normal if you don’t get what you want at first, it will come after practicing again and again.
Nikon FE2 + Harman Phoenix
Hasselblad 503CX + Cinestill 50D
Final Thoughts
That’s it for today’s post! I wanted to share this technique because I’m incredibly proud of the pictures I’ve created using motion blur, and now they’re finally up on my Instagram. Be sure to check them out and don’t forget to subscribe for more content.
Thanks for reading! See you in the next post.
Ciao!
Antoine


