Budget-Friendly Editorial Photoshoot in Seoul.
Welcome back to the blog! In today's post, I'm excited to share the behind-the-scenes details of my recent photoshoot with Jay and the brand Sheen. They kindly let me borrow one of their beautiful dresses, and the experience was fantastic. If you enjoyed the video, you'll love this detailed breakdown of what went into making the shoot a success.
The Inspiration Behind the Shoot
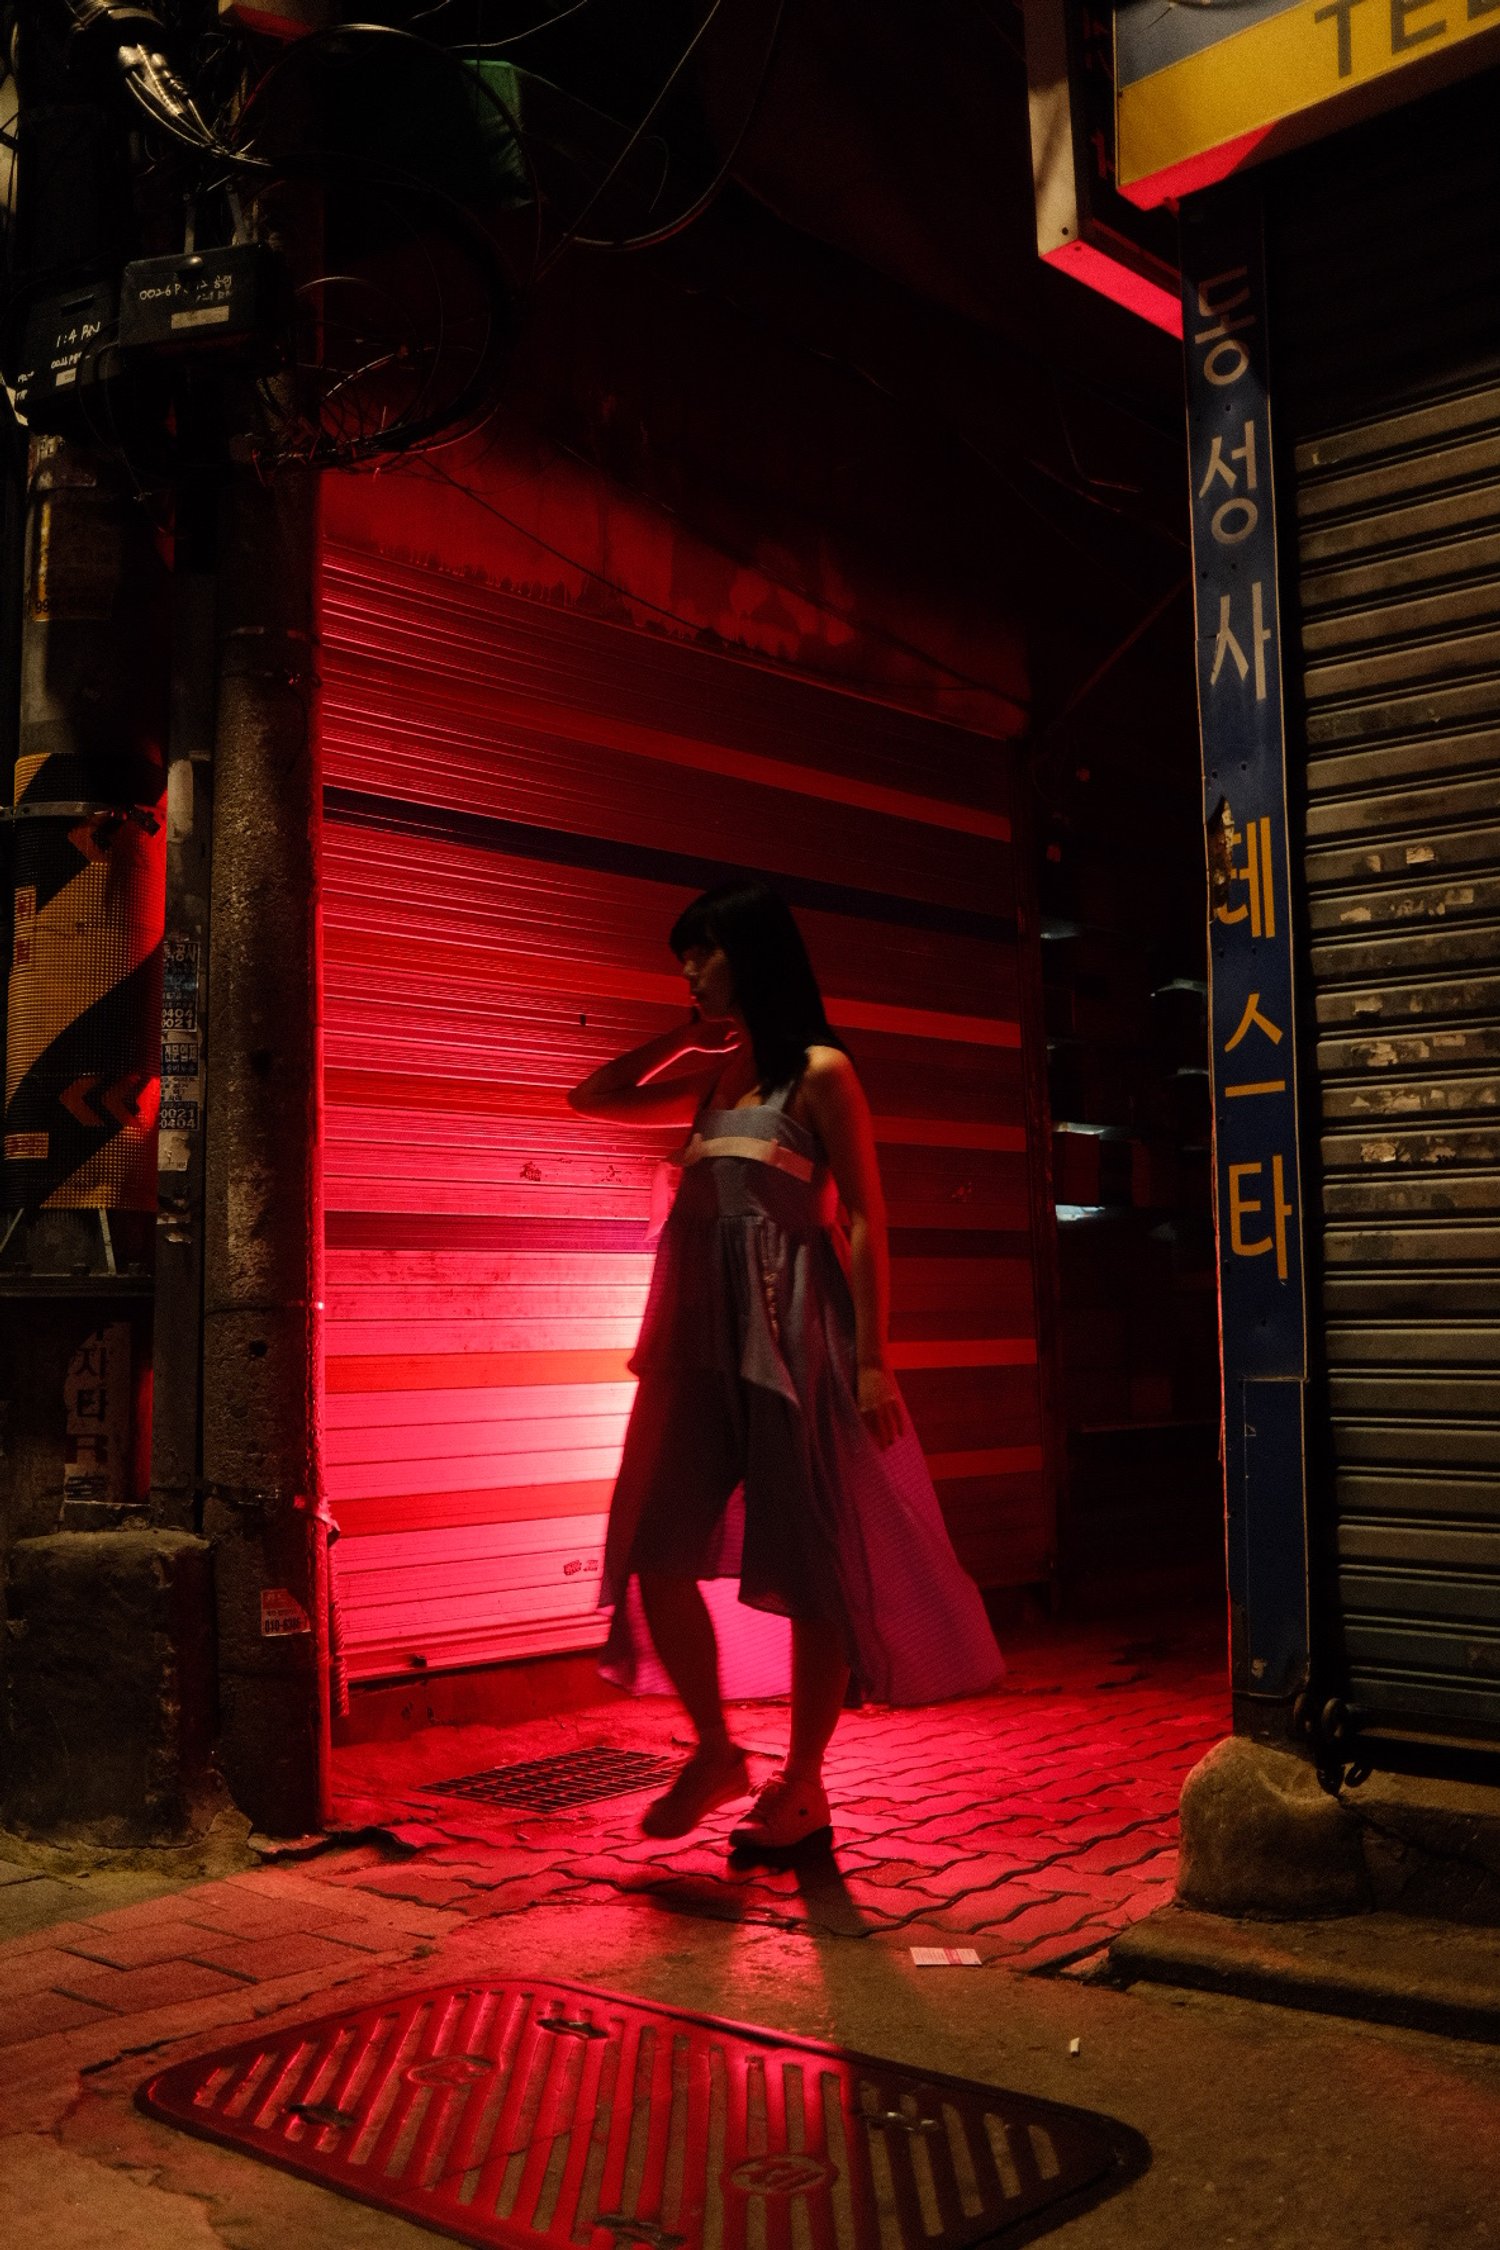
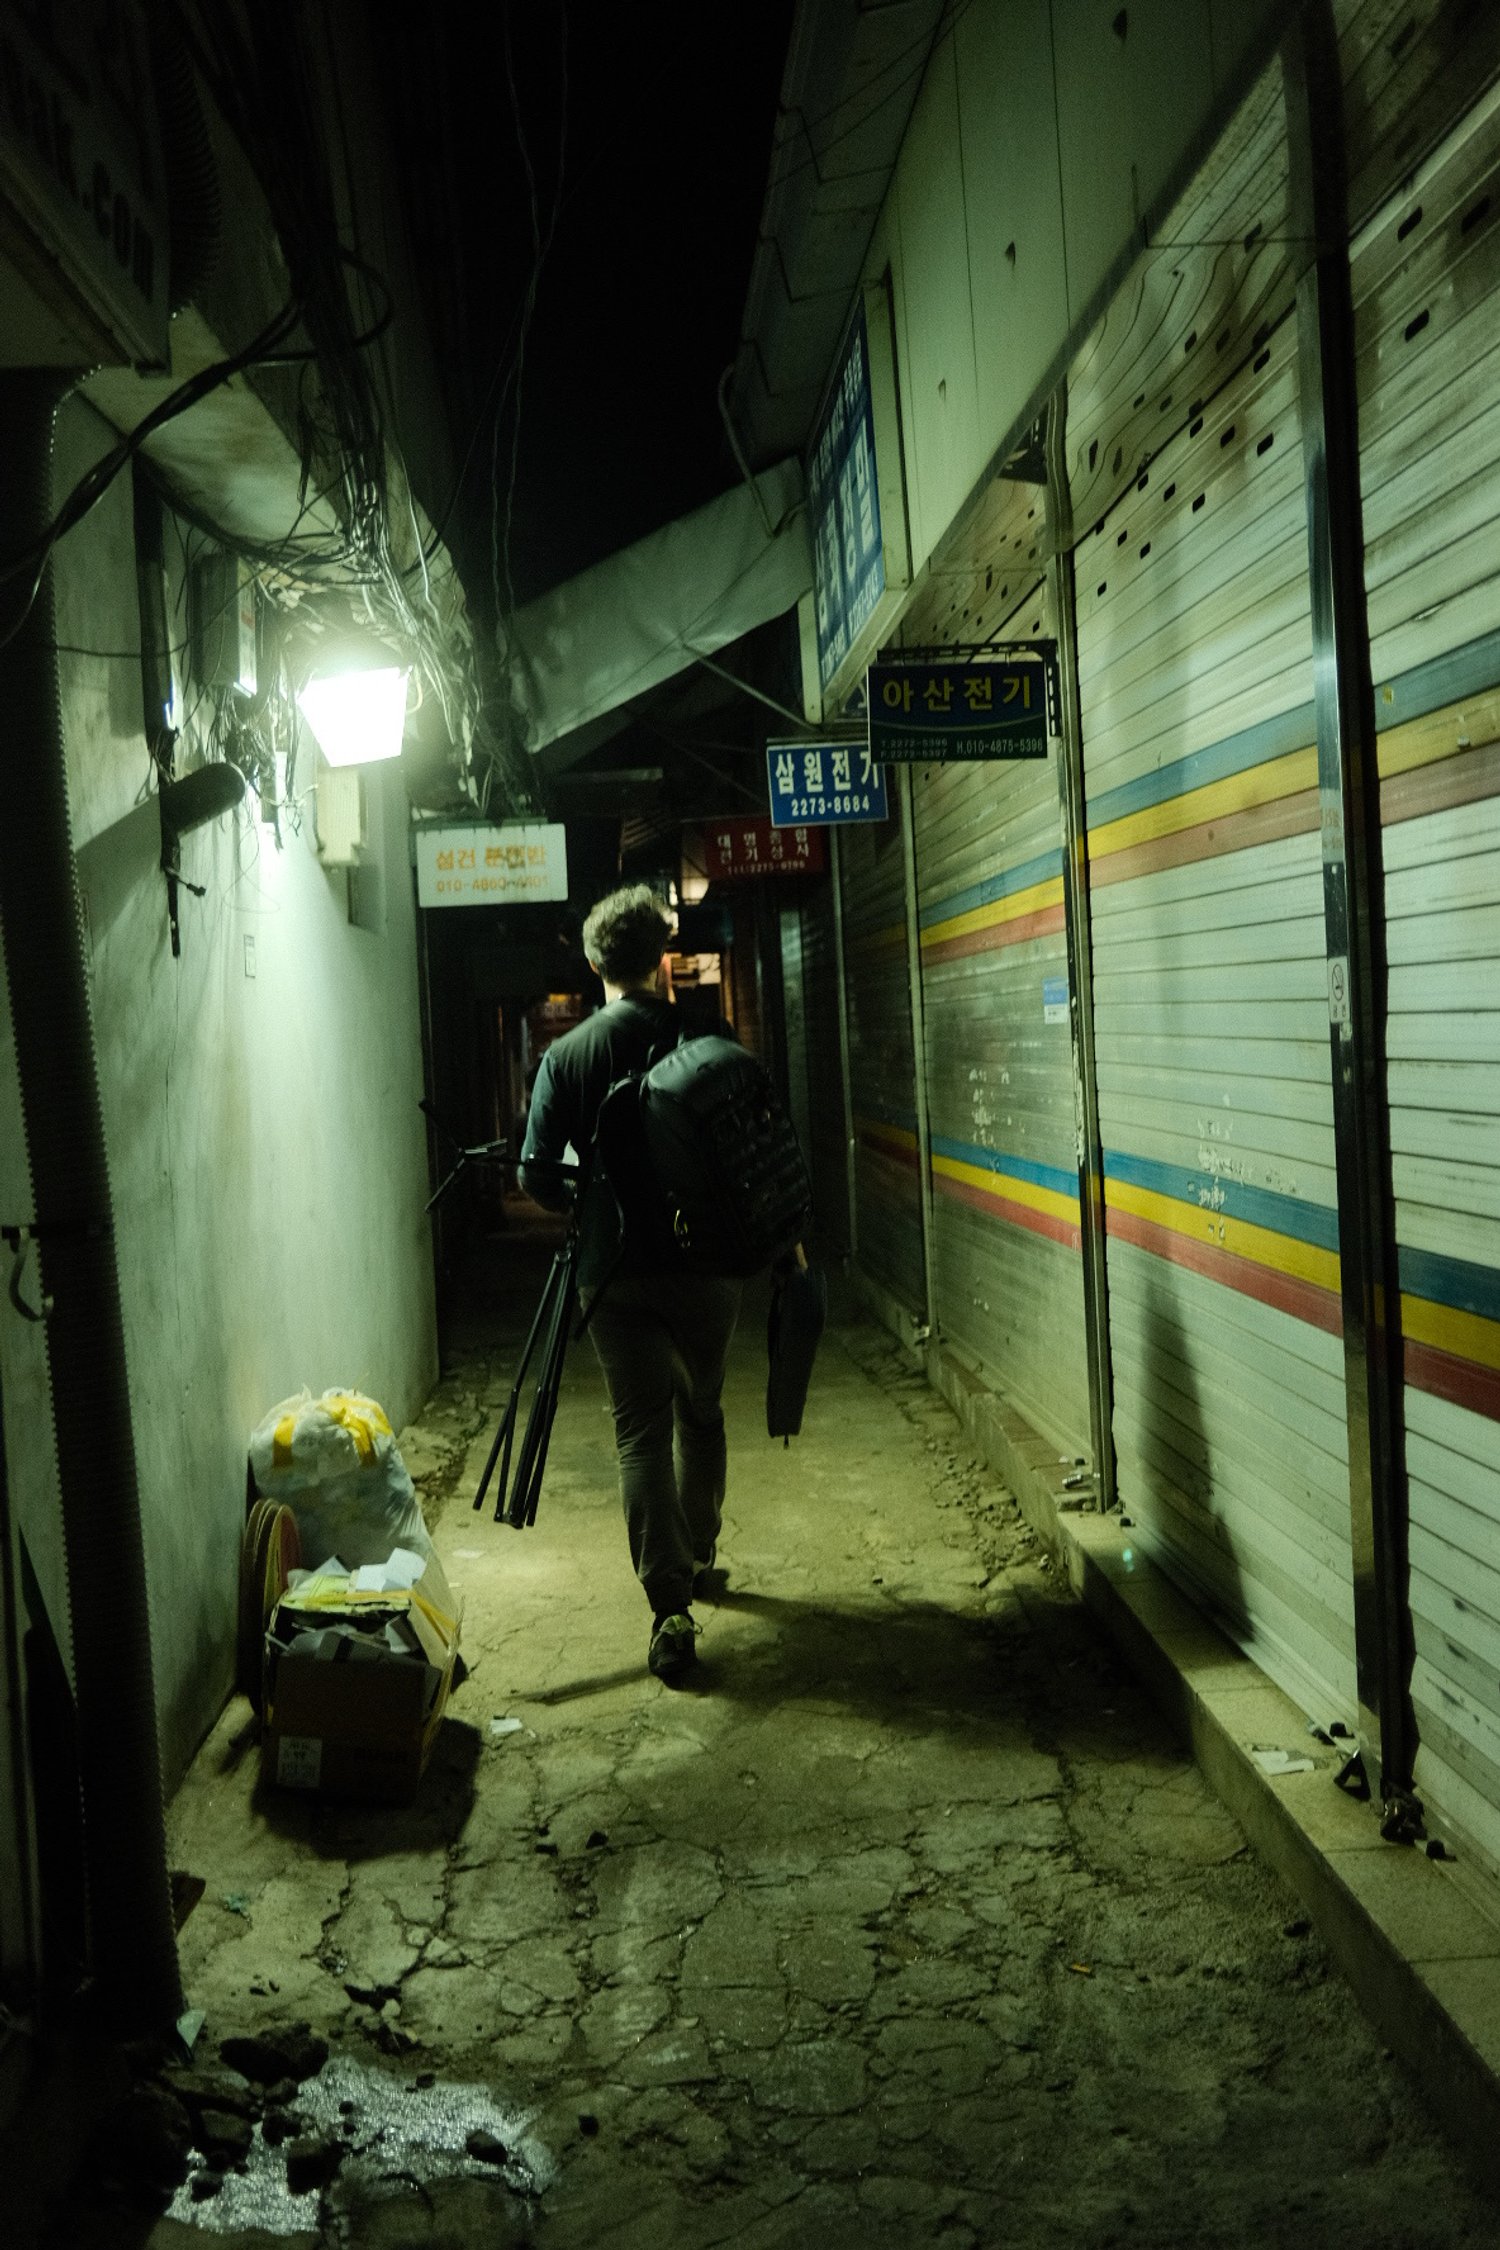
The idea for this photoshoot came to me while exploring the charming yet gritty streets of Euljiro in Seoul. I've always been drawn to this area because of its unique blend of old and rustic aesthetics. I envisioned a series of shoots featuring a Korean model in a cute dress set against this contrasting backdrop. The goal was to capture a sense of a girl lost in the streets, almost like a ghost wandering through the city.
I was particularly inspired by the edgy, industrial environment of Euljiro, aiming to create grainy, high-contrast images that would enhance the raw, rugged feel of the location. The juxtaposition of a delicate, cute dress in this gritty setting was intended to produce a striking visual contrast, adding depth and narrative to the photos.
Planning and Preparation
Planning was a crucial part of this shoot. From choosing the right location to organizing the necessary equipment, every detail had to be as perfect as I could imagine it. I wanted to use flash to achieve an editorial look, showcasing the dress in an environment that you don't typically see with such attire. This contrast between the delicate dress and the rugged surroundings was key to the concept.


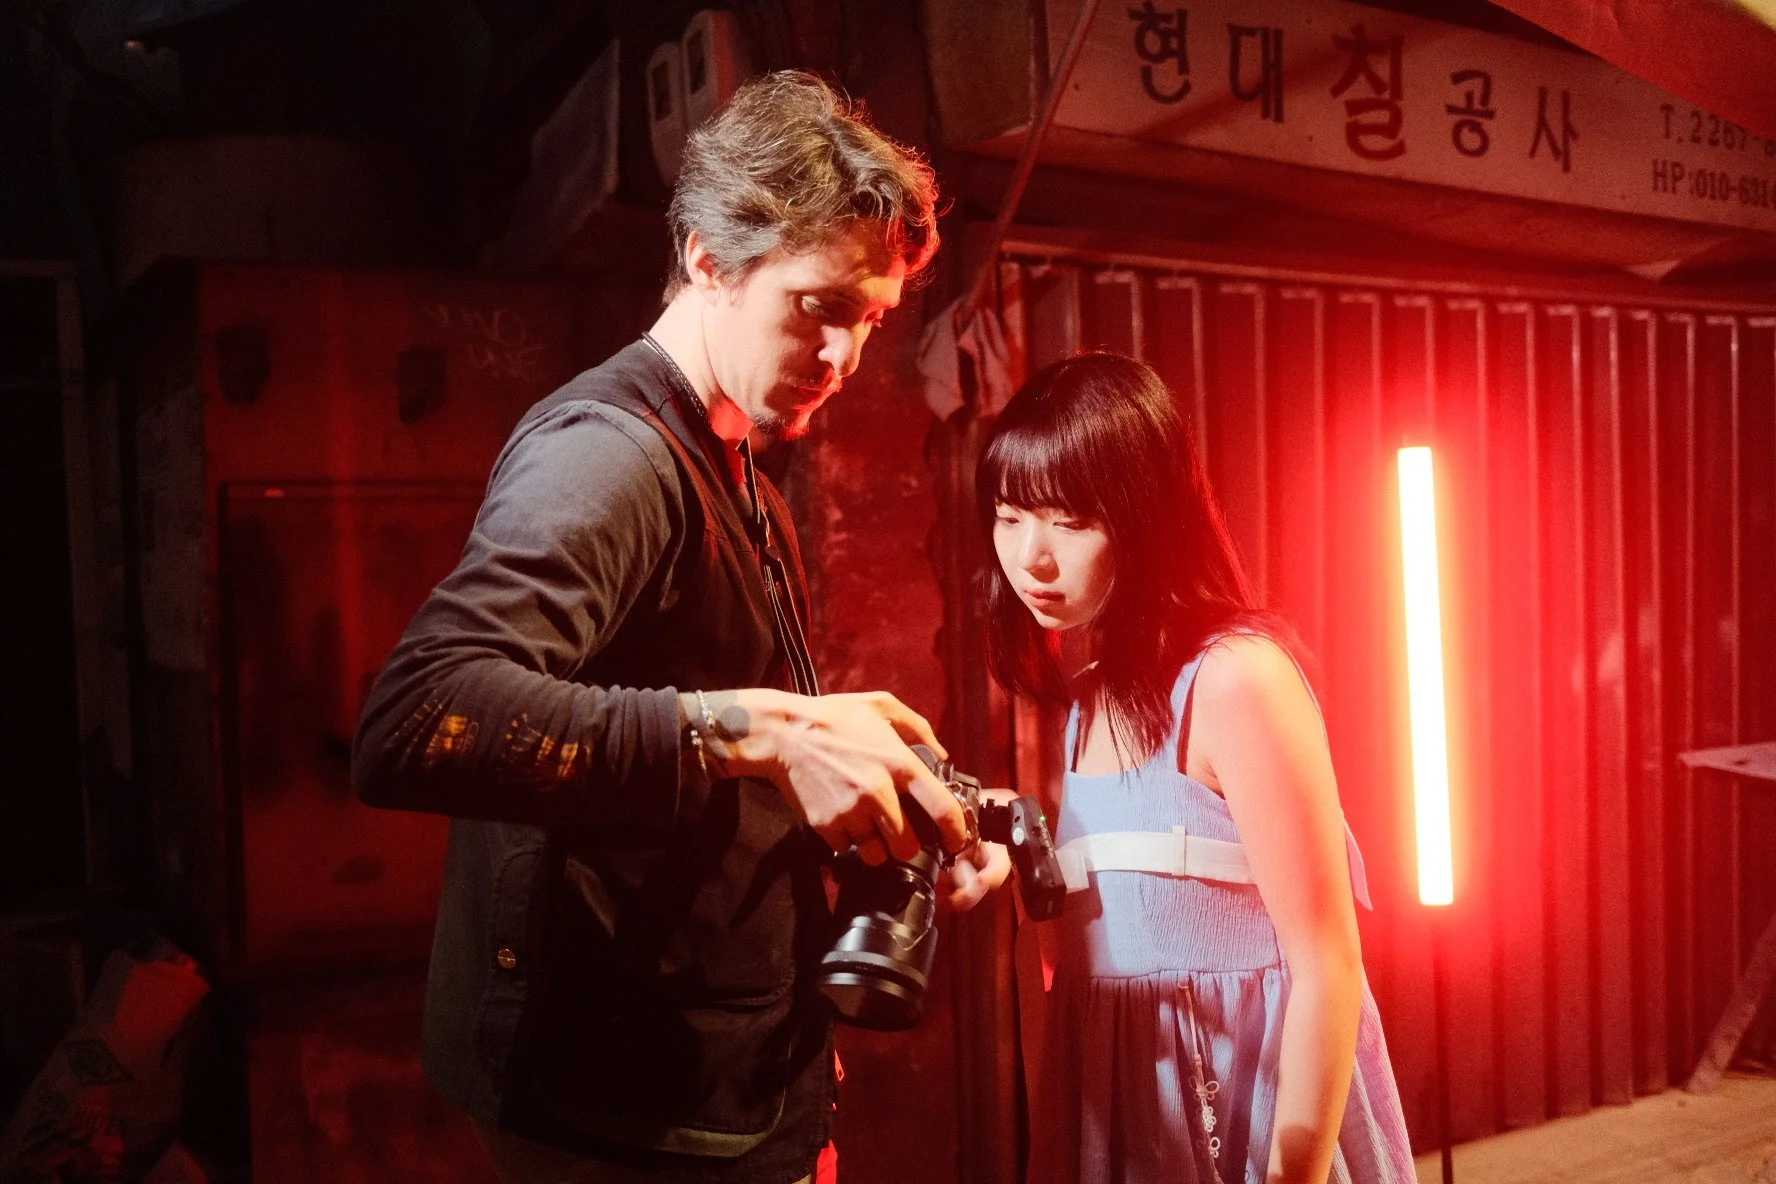
For that I had obviously to choose a day that matches the model and my friend Thibaud who were going to help me recording the backstage praying for not having rain since the rainy season arrive slowly. I also needed to think about the equipment I would need to be as light as possible. Since Neewer sent me the flash Q4 I had to match my gear to the usage of this powerful flash.
Lighting and Equipment
For lighting, I collaborated with Neewer, who provided two essential pieces of equipment: the TL-60 RGB LED light and most important the Q4 portable professional flash. The TL-60, with its powerful RGB capabilities, was perfect for night shoots. I had previously used it for film photography, and the results were stunning. Perfect to give a strong color theme to the environment. For this shoot, I also utilized the Q4 flash, which offered me the perfect key light and added a dynamic powerful element to our photos.
Newer didn’t request any special words on the light, they just asked me to make a video about it and this is how I got the idea of this shooting.
The Shooting Process
Concept and Setup
On the day of the shoot, we started with some initial shots to warm up. I focused on capturing the movement and ghosting effect using the TL-60. This light was excellent for creating a haunting, ethereal quality in the photos. We experimented with different lighting setups, adjusting the position and intensity of the lights to achieve the desired effect. I always need some time to feel my environment and start getting what I want, it’s the stressful time where your need to show your are confident while still going around your ideas to end up capturing what you have in mind.
Using Motion Blur with Slow Shutter Speed and Flash
One of the key techniques I wanted to explore was using motion blur combined with a slow shutter speed and flash. This method allows you to capture both the sharpness of the subject and the motion blur of the background or parts of the subject in movement.
1. Slow Shutter Speed: I set the shutter speed to around 1/50 to 1/20 of a second. This slower shutter speed is crucial for allowing enough time to capture motion blur.
Feel free to use even slower shutter speed to get original content.


2. Using Flash: To freeze the subject in motion, I used the Neewer Q4 flash. The flash was set to trigger at the end of the exposure (second curtain sync), ensuring that the motion trails appeared behind the subject, giving a sense of direction to the movement. You can choose to trigger the flash at the beginning or the end of your shutter speed, personally I think that using the rear flash trigger is easier but it’s just a matter of taste and situation.


3. Balancing Ambient and Flash Lighting: I adjusted the ISO and aperture to balance the ambient light with the flash. This balance is essential to ensure that the background is slightly visible but not overpowering the flash.
And use the power of the flash to balance the exposure on your subject once your environment has the look you are looking for.
4. Positioning the Lights: The TL-60 RGB LED was positioned to provide continuous light, enhancing the ghosting effect. That’s this light that was used to expose the environment when the public light were not taking over the LED tube. This one from newer is powerful enough to be flexible.
I also used this one reaching the back or side of the model to have this ghosting effect since it’s a continuous light that will be capture during the whole shutter speed (1/50s 1/20s)


Technical Tips for Achieving the Desired Effects
- Pre-focus and Lock: To avoid focus hunting in low light, pre-focus on the spot where the model will be, and lock the focus. This ensures that the subject remains sharp when the flash fires.
- Use a Tripod: A tripod helps to stabilize the camera, especially with the slow shutter speeds, ensuring that the only blur captured is from the subject's movement. But I end up preferring the camera being handled to emphasize the textures I get with the whole environment moving.
- Experiment with Flash Power: Adjust the flash power according to the distance and the effect you want to achieve. Lower power settings can help in capturing multiple flashes in one frame, while higher power freezes motion more effectively.
It can be scary at first since there are a tons of possibility, but just try until you get what you want.


- Continuous Light for Motion Trails: Use continuous lights, like the TL-60, to create light trails that follow the model's movements. The color and intensity of these lights can add a creative dimension to your shots.
- Review and Adjust: After each shot, review the images and adjust settings as needed. Small tweaks to the shutter speed, flash power, and light positioning can significantly impact the final image.


Collaborations and Model Selection
Finding Models
Finding the right model was another important aspect. I typically use Instagram to discover potential models and photographers. It's a great platform for connecting with talent. I look for models who match the vision I have for the shoot and who can bring their own unique style to the project. I also use platforms like Behance for more professional connections.
Being Respectful in Collaboration Requests
When reaching out to models, it's crucial to be respectful and professional. Here are some tips for doing so:
1. Be Clear and Honest: Clearly explain your project, including the concept, location, and what you expect from the collaboration. Honesty helps build trust and sets the right expectations.
2. Respect Their Time: Understand that models may have busy schedules. Be patient and respectful if they can't respond immediately or if they decline the offer.
3. Offer Value: Ensure that the collaboration is mutually beneficial. Highlight what the model will gain from the shoot, whether it's portfolio content, networking opportunities, or other benefits.
4. Maintain Professionalism: Keep all communications professional. Use appropriate language, be polite, and maintain a respectful tone throughout your interactions.
Final Thoughts
This photoshoot was a rewarding experience, filled with creative experimentation and collaboration. I want to thank Sheen for providing the dress and Neewer for the incredible lighting equipment. If you're interested in seeing more from this series or want to improve your photography skills, stay tuned for future posts. Feel free to reach out if you're in Korea and want to collaborate on a shoot. Until next time, ciao!


